Simple Instructions For How To Make Stage One Baby Foods

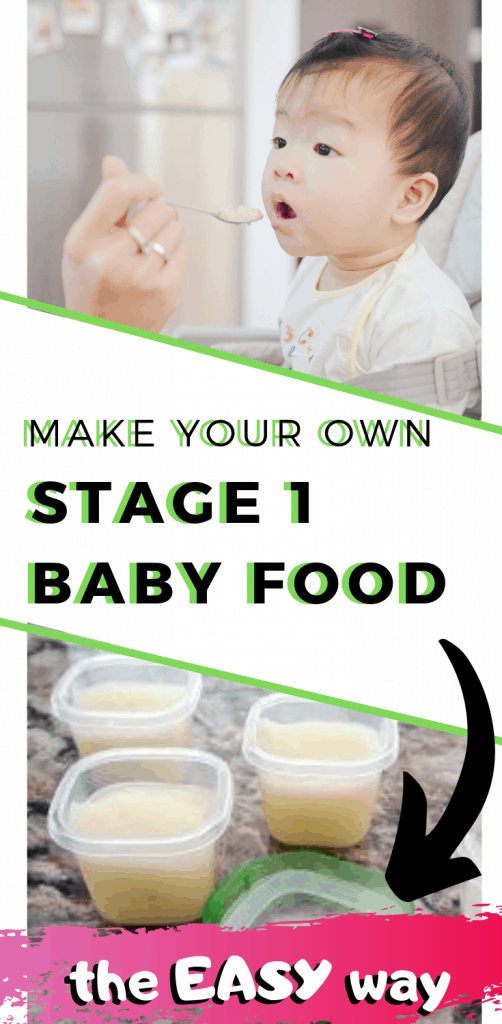
When it comes to feeding your baby most parents obviously want to provide the best foods and nutrition. For some, that means buying jars of baby food. For others, that means making everything from scratch. As a parent, I like to do a little of both. When I make baby food I try to find the easiest and fastest way possible to puree each food. There are some foods for me that are just not worth the effort to make myself (for various reasons). Also, when we travel I choose to buy jarred baby food to make life easier. I hope the information below on how to make some of your own stage one baby foods helps you navigate starting your child on solids.
This post contains affiliate links. Please see affiliate disclaimer here.
Please Note: I am not a registered dietician or medical professional. I am just a parent of three kids who has had success making her own baby food purees. Any questions or concerns about feeding your baby should be discussed with your child’s pediatrician.
When should I start my baby on solids?
It is recommended that babies start their first solid foods between 4-6 months. In my opinion, many parents rush introducing solids. I know numerous close friends and family members that started their babies on solids at three months (why?).
At this age, infants are still getting all the nutrition and calories they need from breastmilk or formula. Think of starting solids as practicing the skill of eating.
Check for signs of readiness before offering your baby solid foods. Can your child hold his/her head up? Is your child able to sit with support? Does your baby open his/her mouth when food is offered? Can your infant move food from the front of his/her tongue to the back?
Personally, I have always waited until six months to start solids. Children will be eating solid foods for the rest of their lives, why start earlier? Plus, as soon as you start adding solid food to their diets that is when the poops start to get stinky. Six months old is when you have to break out the diaper sprayer if you cloth diaper like me.
Read More: Cloth Diapering
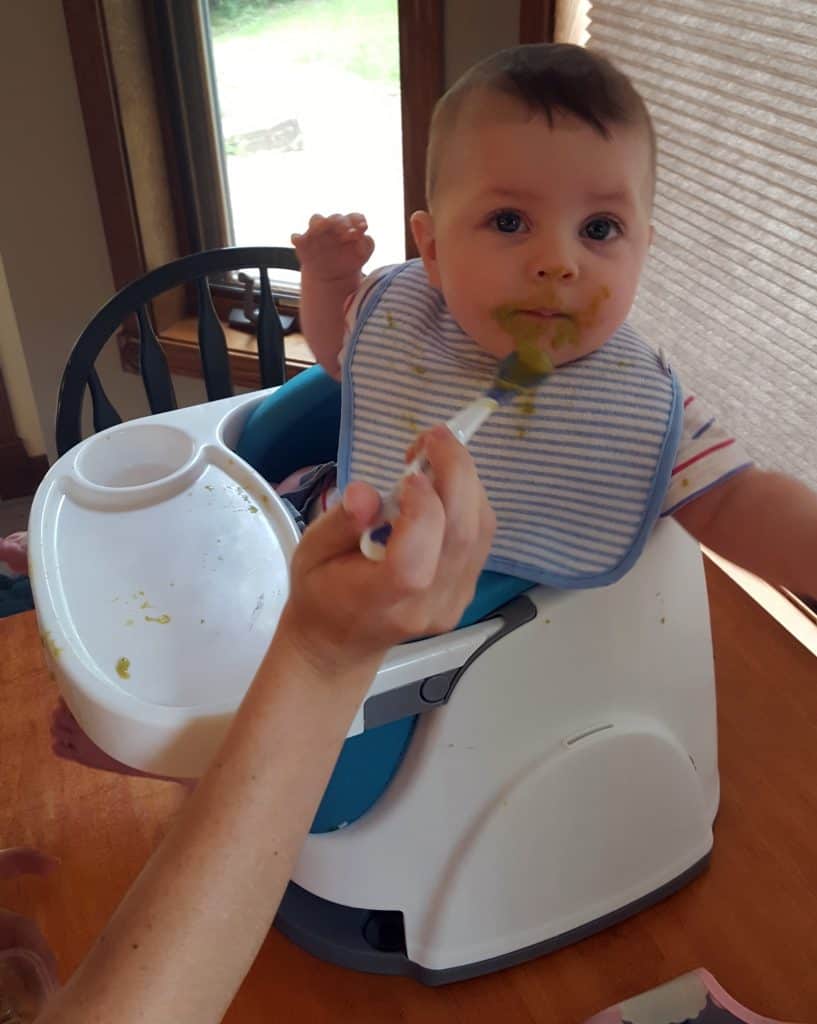
What types of food should I feed my baby?
What foods you decide to introduce first to your baby is really up to you.
Some parents like to begin by offering an iron-fortified infant cereal. For all three of my kids, iron-fortified baby oatmeal (you can find it in the baby food aisle) was one of their first foods. Personally, I think oatmeal has a better taste than rice cereal. You mix the cereal with breastmilk or formula which is why the infant cereal is an easy one to start with because you control how liquidy the oatmeal is.

Other parents begin with a vegetable or fruit puree. After mashing or pureeing a single ingredient food you may need to add some breastmilk or formula to get the correct consistency. As the child gets more used to eating solids the purees can become less liquidy. Types of stage one foods to offer include grains, veggies, fruits, and meats/protein. Remember you can absolutely add in seasonings but NEVER HONEY!! Also, stay away from salt and added sugar.
Tip: Introduce peanut butter at six months of age by mixing a little in with your baby’s iron-fortified infant cereal. Doctors now recommend giving your baby peanut butter at this age.
Read More: 5 Stress-Free Ideas to Introduce Peanut to Infant
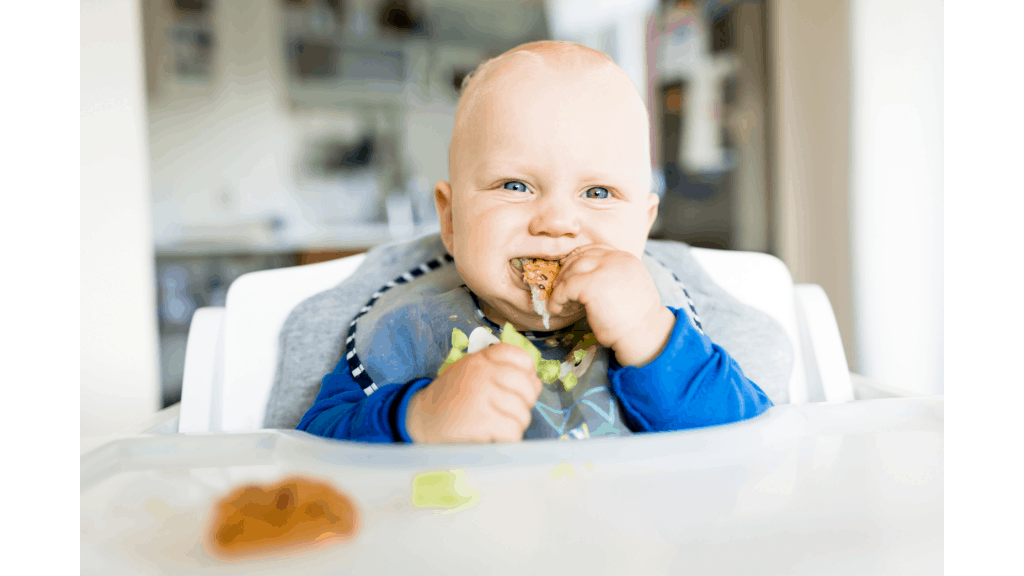
A popular trend right now is baby-led weaning which is basically skipping purees altogether and giving babies finger foods. There are numerous benefits to baby-led weaning including babies working on their fine motor skills as well as learning self-regulation because the baby is in control of when to stop eating. I think baby-led weaning is a fantastic concept but gagging REALLY freaks me out. That’s why I choose to start with purees and then once my kids get the hang of purees (and a few teeth) then I switch to giving non-pureed foods. The choice is yours!
Why should I consider making my own purees?
I enjoy making most of my baby’s food because it can save me money, the ingredients are fresh, and it really doesn’t take that much time to do. I love going to the farmers’ market and selecting seasonal produce to make for my baby.
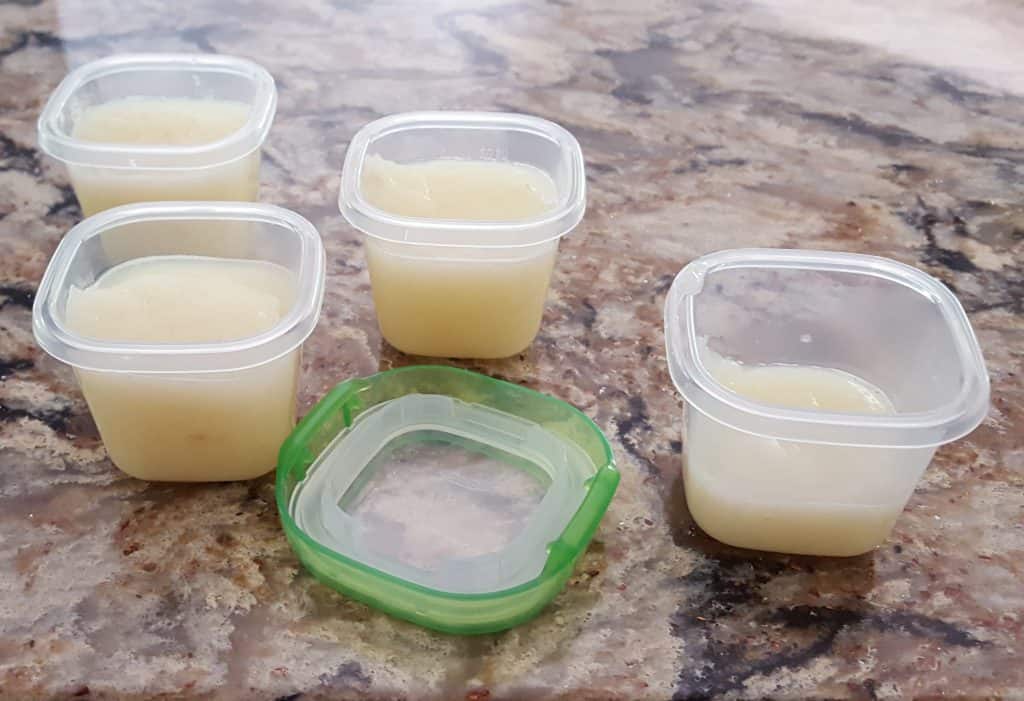
Also, it’s really easy to make your own baby food. I make a number of ounces with each food I puree so I can freeze the containers for later. When I need more food for my baby I just thaw them overnight in the refrigerator. Most foods take no time at all to mash or puree into stage one baby food (see instructions below).
That being said, I do purchase some baby food that I have no desire to make myself.
Foods I don’t make;
- Prunes
- Meats
- Carrots
Tip: Always keep a jar of pureed prunes on hand in case your baby becomes constipated. They work and children often get constipated when starting to incorporate 1st foods into their diets.
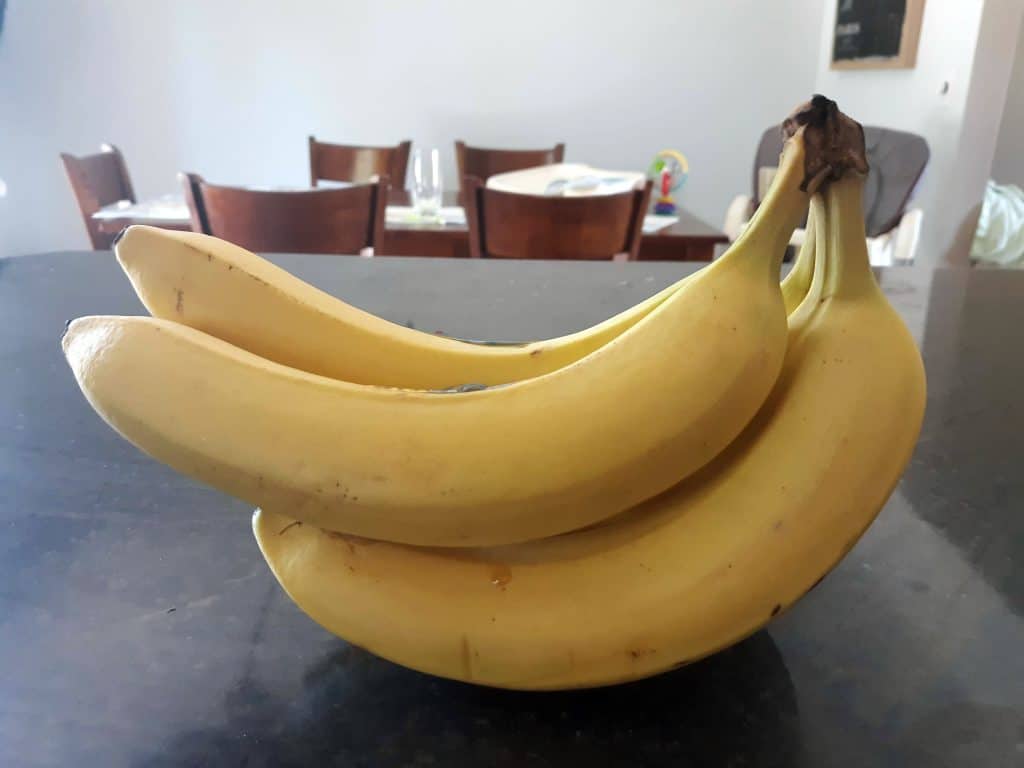
Cost of one banana = ~ $0.20/makes about 4oz
Cost of Gerber 1st foods banana container = $1.19/4oz
How do I feed my baby solid foods?
When first giving solid food to your baby you should only introduce a new food every three days. By spreading out the different foods it is much easier to tell if your child has a food allergy or intolerance (and to exactly what food).
Make feeding time fun. In the beginning, very little food is likely to be swallowed. Remember, this is practice! If you get frustrated during mealtime your baby may sense your emotions and in turn not like sitting down for meals. I often give my baby a spoon to play/practice with while I also spoon some puree in his/her mouth.
Tip: Spoon a small amount of baby puree into a separate dish to feed your baby from. If you use the original container you stored the food in (or purchased in) you will have to throw out the rest of the unfinished puree because of the contaminated spoon being dipped in and out. You can always add more to the separate bowl if your baby finishes the first amount.
How much should I feed my baby?
Between 4-6 months of age breastmilk and/or formula is the main component of your baby’s nutrition.
Babies can have 0-4 oz/day of solids.
Do not force-feed your baby. If he/she is getting upset or constantly turning his/her head away – stop. Try solids again the next day. Attempting one meal a day at this stage is enough.
Stage 1 Baby Food Purees
Don’t forget – always wash your fruits and veggies as your first step in baby food preparation!
Easiest;
Banana
Peel the banana and mash it up with a fork. What could be easier than that? I always have bananas on hand in case the baby is really hungry and I don’t want to waste time heating baby food up. Plus, babies love bananas!
Avocado
Avocado is the first food I gave my son. Slice the avocado length-wise, remove the pit, scoop out the flesh and mash it up with a fork. You can certainly add a little breastmilk or formula if you want to thin out the consistency.
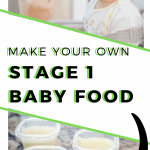
Applesauce
Open up the jar, done. Make sure to get the unsweetened kind. Apples are fruit, they are already sweet, babies don’t need extra sugar.
Easier;
These first foods you don’t have to cook but have a few extra steps compared to the foods mentioned above.
Tip: I sometimes “cheat” and buy a can of peaches, pears, beans, etc (just make sure to check the sodium and sugar amounts!). I drain the can and throw the food in the food processor. Half the work is already done for you!
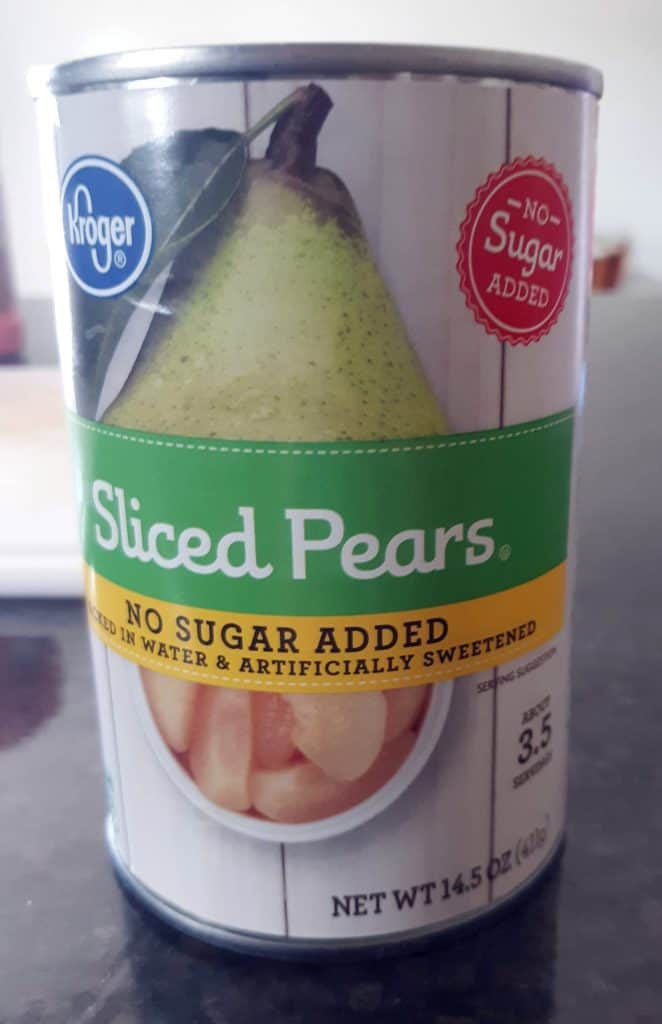
Pears
Peel the pear, slice the pear around the stem, and dice into chunks. Throw the chunks of pear into the food processor and you are all set. I tend to buy a more ripe pear so there is no cooking needed!
Peaches
Peel the peach and slice around the pit. Put the peach slices in the food processor. As always, ripe is better. If your fruit is not ripe you may need to throw the slices in some boiling water for a few minutes to soften them up.
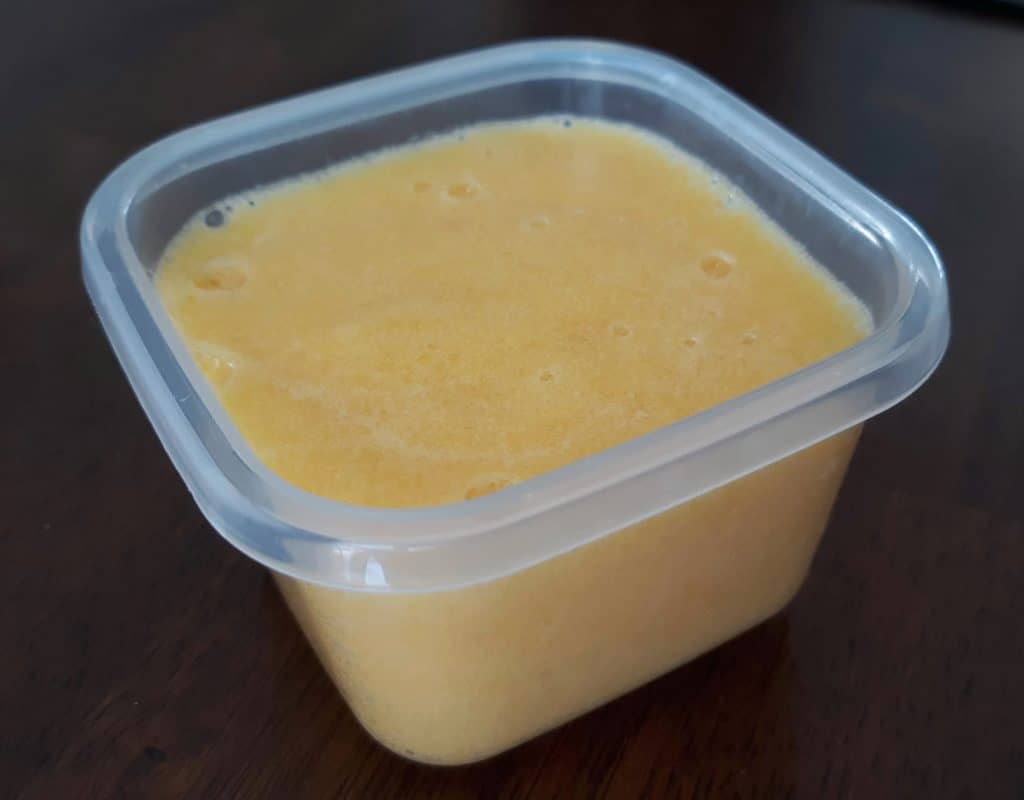
Mango
Peel and slice the mango. Puree the mango slices in the food processor.
Blueberries
Toss the blueberries in the food processor. Voila!
Easy;
Although these next foods include the extra step of cooking before pureeing they are all still extremely easy to make yourself.
Tip: I sometimes also “cheat” with these easy foods by purchasing frozen bags of already cut up fruits and veggies to heat up in the microwave.
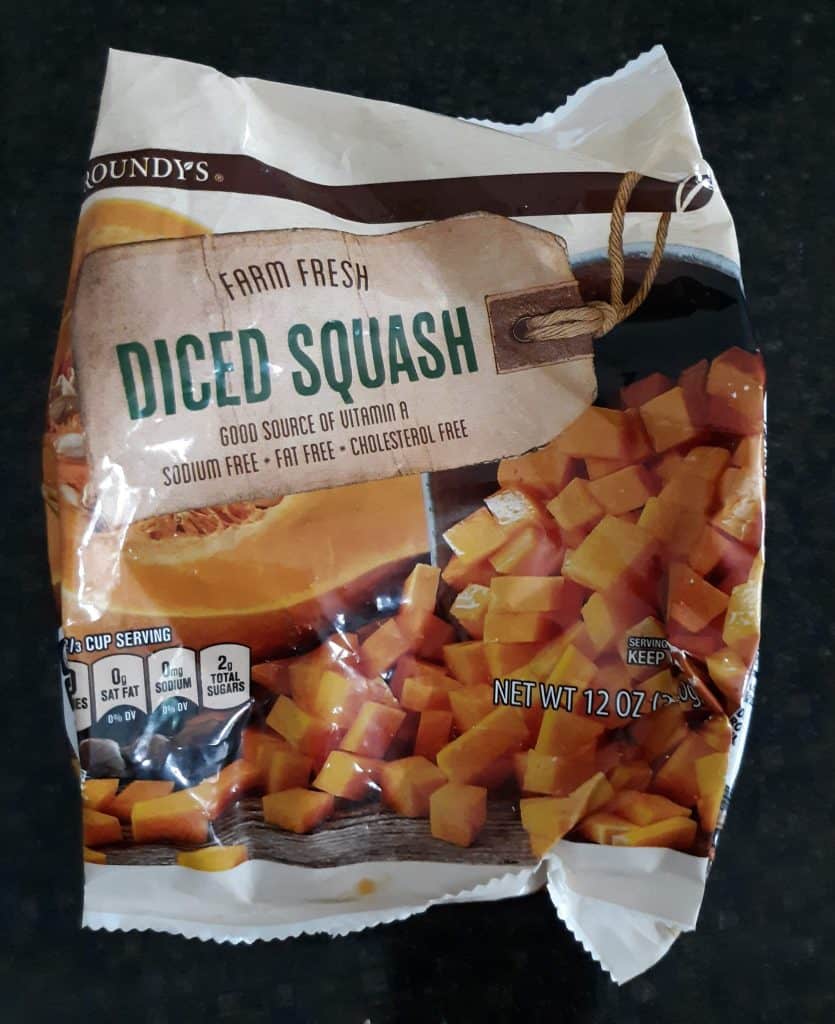
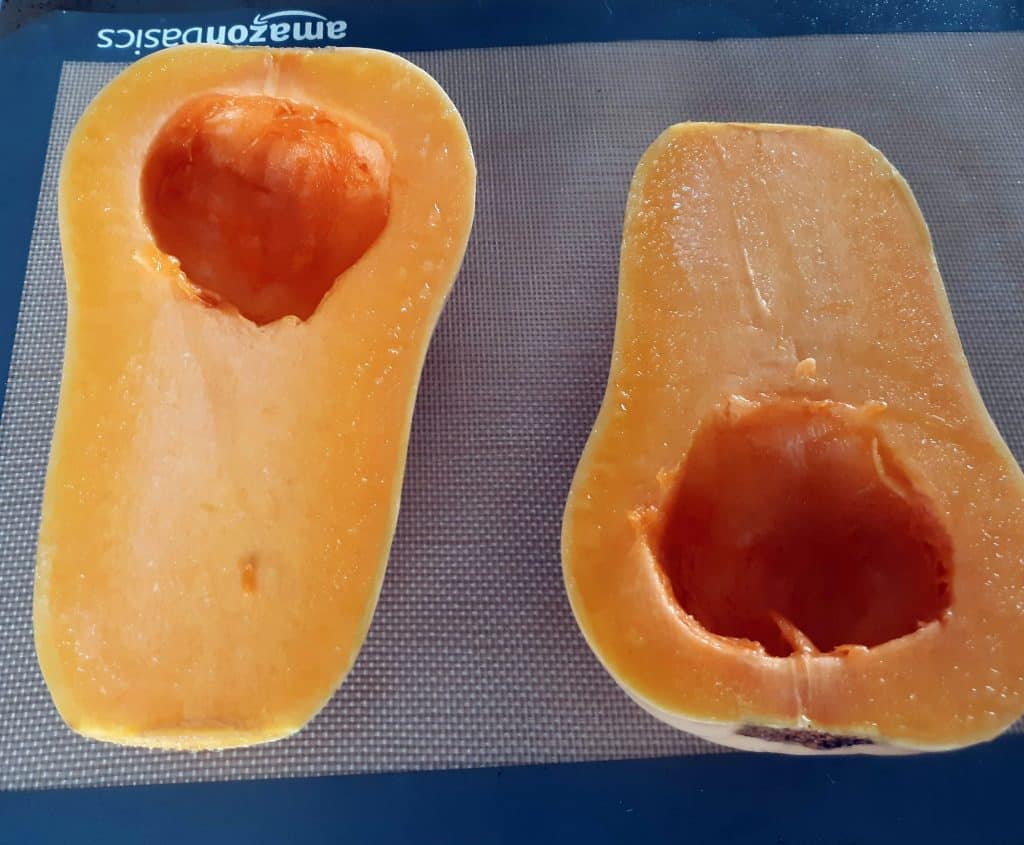
Butternut Squash
Cut the top with the stem off. Slice the squash lengthwise and scoop out all the seeds. Next, place the squash on a baking sheet with the flesh side up. Bake at 400 degrees for approximately 45 minutes. Scoop the flesh directly into your food processor.
Green Beans
I usually buy green beans frozen but if you are making this puree with fresh green beans make sure to cut the ends off. Boil a little water in a saucepan, add the green beans, and steam for about 3-5 minutes. Place the drained green beans in the food processor and puree. You will probably need to add some water to make the mixture less grainy.
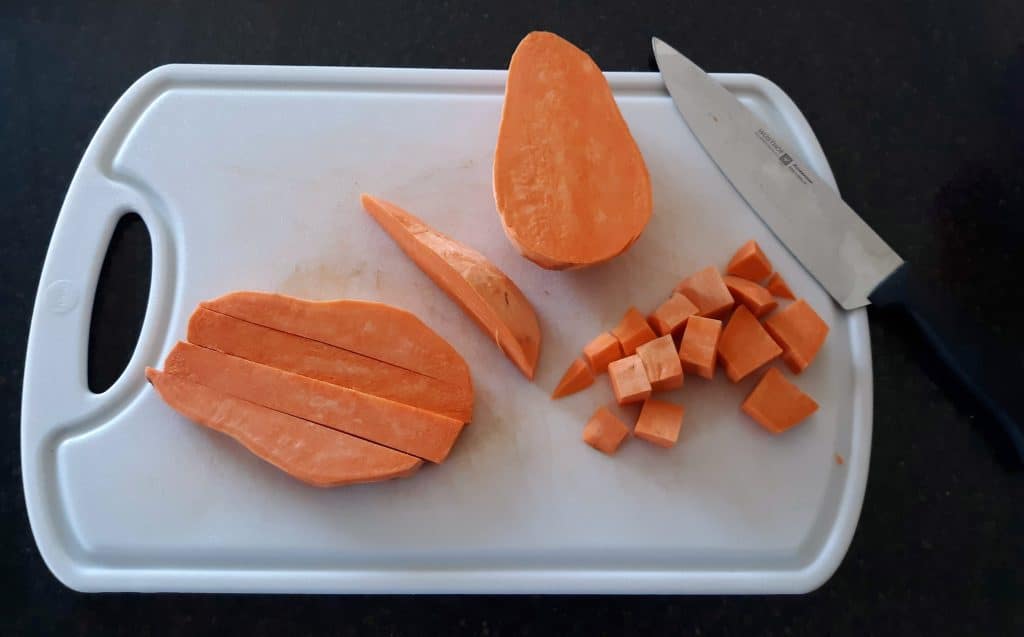
Sweet Potato
Peel the sweet potato and then dice it. Boil water in a saucepan and add the diced sweet potato chunks for approximately 15 to 20 minutes. Drain the sweet potato chunks and throw into your food processor.
Mashed Potatoes
Peel the potatoes and cut into chunks. Bring a pot of water to a boil, add the potatoes, and cook for ~ 15 minutes. Drain the potatoes and puree in a food processor.
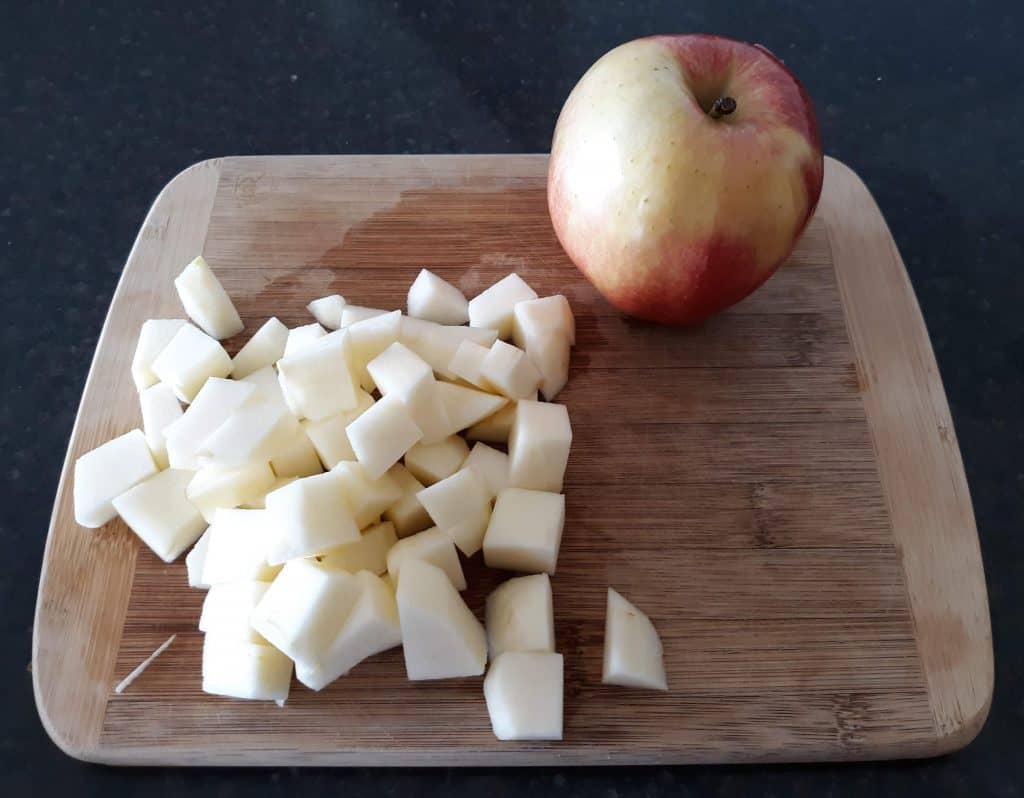
Apple
Peel, core, and slice the apple. Next, cut the slices into chunks and put into boiling water for about 10 minutes before draining and pureeing in your food processor.
Peas
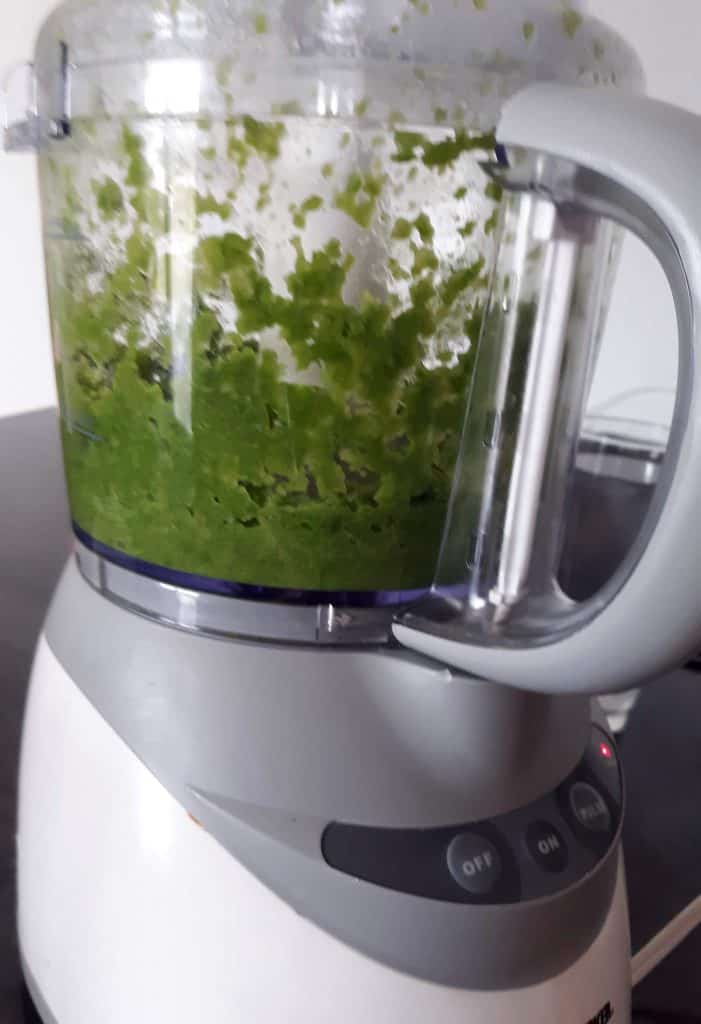
I’ve always used frozen peas (you can get a bag of frozen peas for $1!). Boil a little water in a saucepan, throw in the peas, and cook for approximately 3-5 minutes. Add the drained peas to the food processor and blend. I usually need to add some water to make the peas liquidy enough.
Other Stage 1 Baby Foods;
- Apricots
- Asparagus
- Broccoli
- Melons
- Plums
- Pumpkin
- Infant Cereals (rice, barley, etc)
- Beans
- Beef
- Chicken
- Pork
Happy Feeding!
3 COMMENTS
Leave A Comment


Kayla Runyon | 27th Jul 20
Hello,
I was wondering why you don’t make carrots baby food? Thanks
Mehgan | 28th Jul 20
Great question! As long as a parent isn’t giving pureed foods to a baby too early (before 4 months of age but I usually wait even longer) there shouldn’t be any issue with nitrates (which tend to be higher in certain foods like carrots). But I just wanted to err on the side of caution especially since we have well water. I’m sure I’m being overly cautious.
Modish Taste Redirecting | 11th Oct 20
[…] Click here if the page doesn't appear […]