
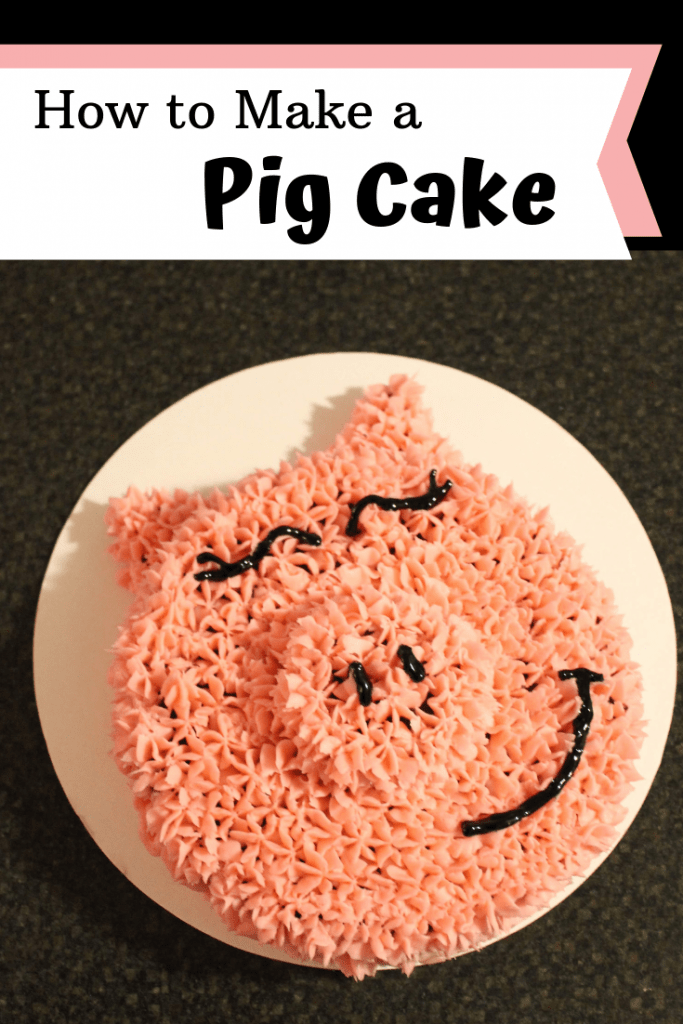
Pig Birthday Cake
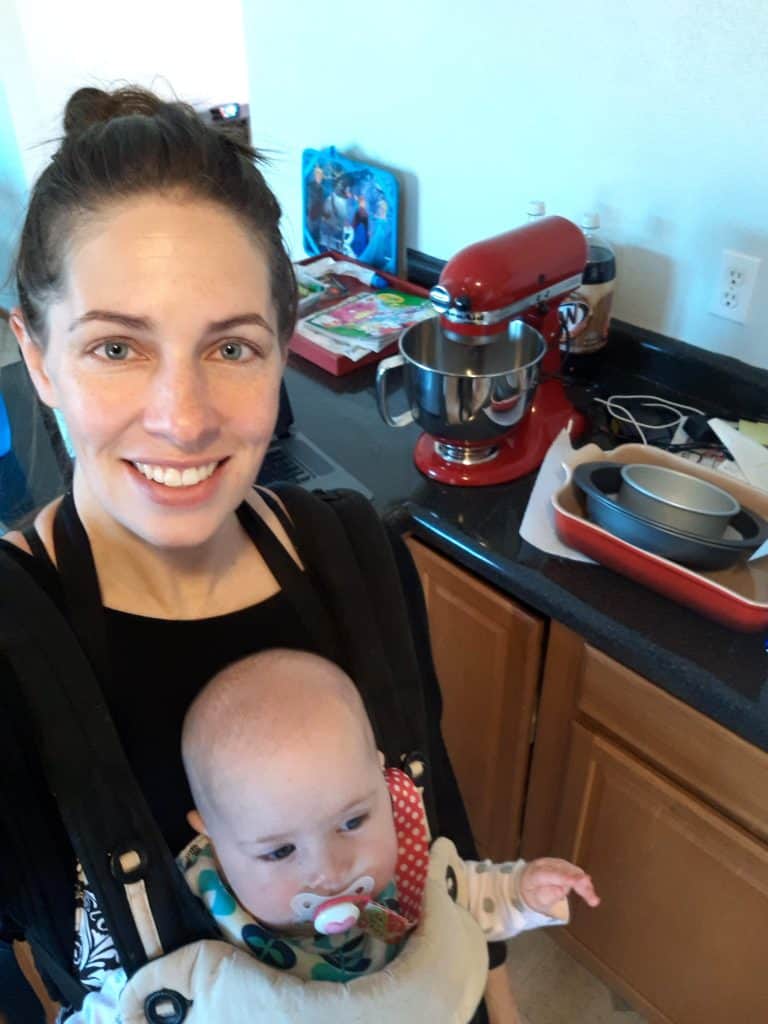
Our daughter’s 2nd birthday party was farm themed and I knew I wanted to make some type of barnyard animal cake to top off the day. I considered making a cow and a horse but my bright husband suggested a pig because you only need one color frosting for piping. Done!

We had to switch the party from Sunday to Saturday so I had one less day of prep. I have learned over time that keeping things simple is the smart way to go. See instructions below for how to create an easy pig birthday cake (or pig cake for any farm-themed occassion).
This post contains affiliate links. Please see affiliate disclaimer here.
Total honesty – I used a boxed cake mix. I know, I know, I’m better than that but I have so many boxed cake mixes in my cupboard it is starting to give me anxiety.
You know I am the Queen of Decluttering, I need to start using the cake mixes up. Plus, it was for a two-year-old and only family members
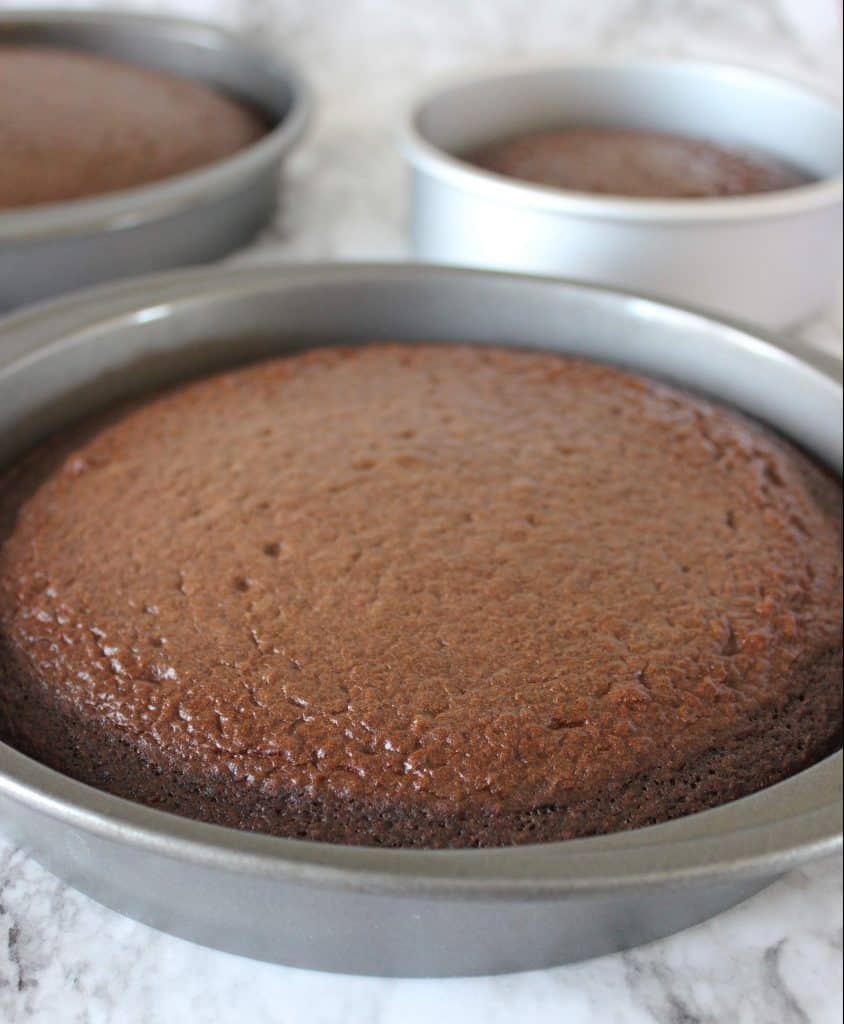
Step 1: Prep Pans
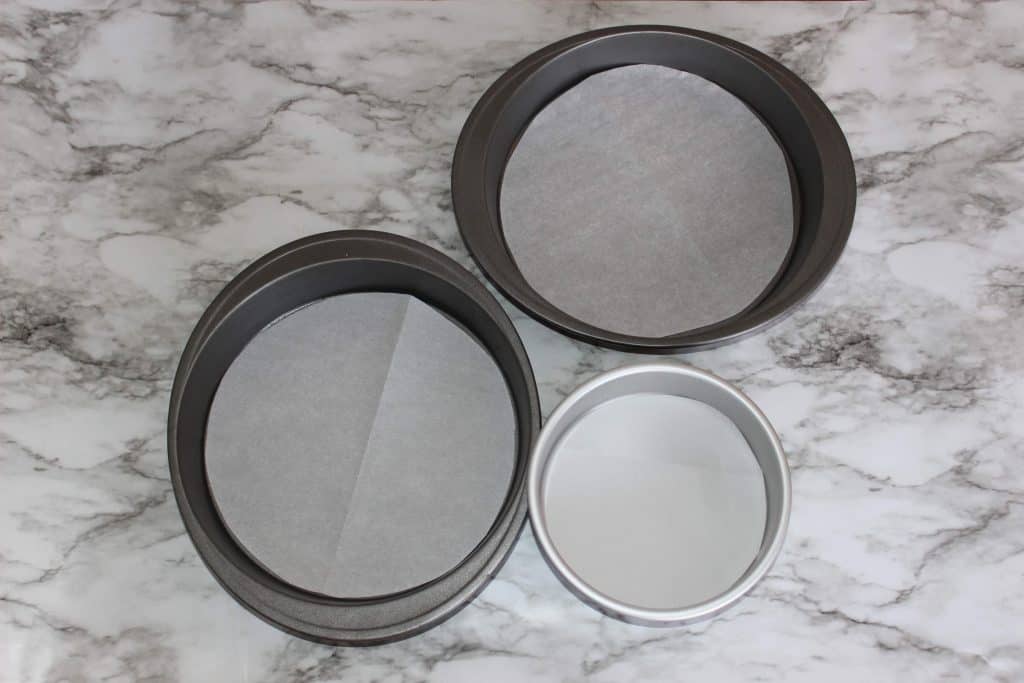
Begin by prepping your cake pans. Trace the bottom of two round cake pans and one small cake pan on parchment paper. Cut out the parchment rounds. Spray your pans with non-stick spray and place the rounds in the bottom of each pan.
Step 2: Make Batter
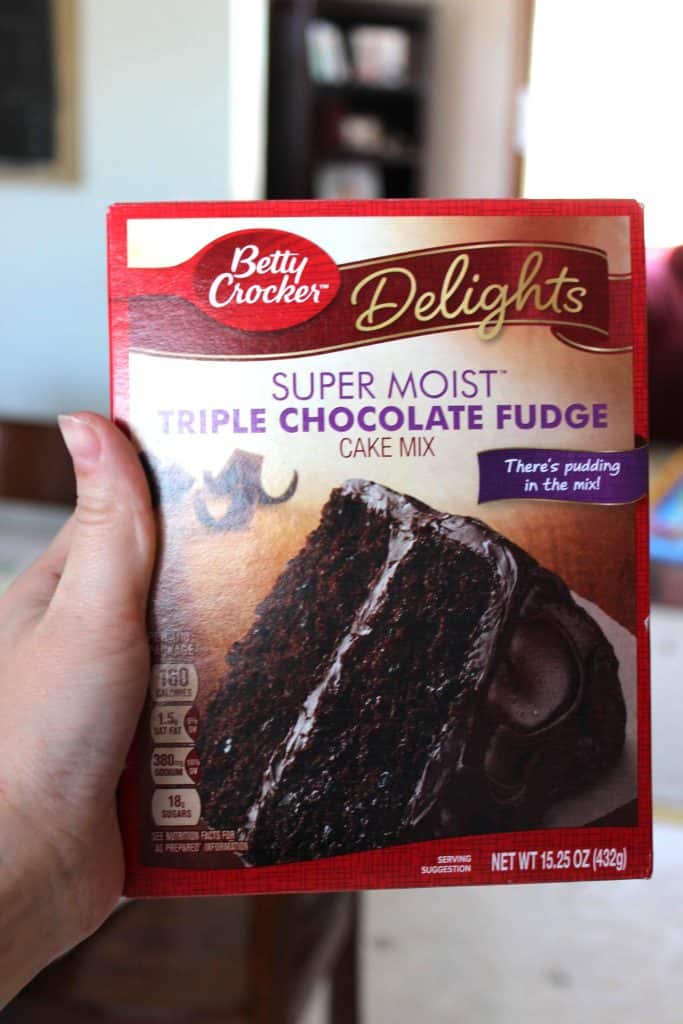
This time I used a cake mix but I “improved” it by doing the Pinterest recommendations. Meaning, I added two more eggs, used melted butter instead of oil and doubled the amount, used milk instead of water, and added 1 tablespoon of vanilla. I don’t know if it makes a world of difference but couldn’t hurt! I beat all the ingredients together using my stand mixer (or you can use a handheld mixer).
Pour the batter into the prepared pans so that each pan is about half-full.
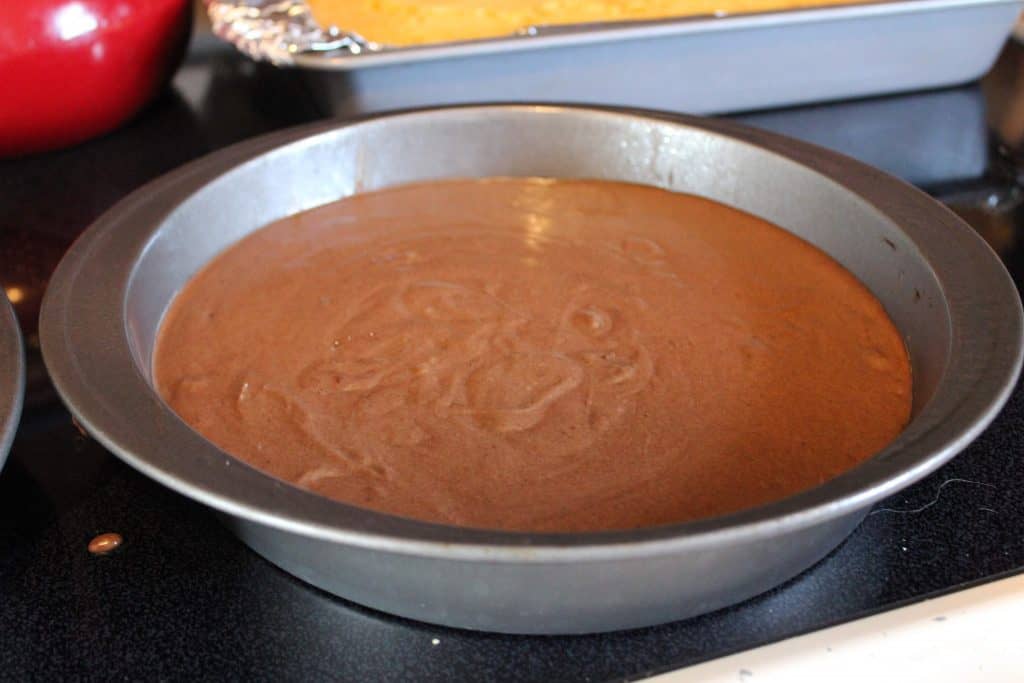
Step 3: Bake
Bake the cakes according to the instructions of the recipe (or box mix) you’re using. The cakes are done when a toothpick comes out clean.
Let the cakes cool in the pans.
Step 4: Make Filling
While the cakes are baking and cooling you can make the filling for the cake. I decided to go with a strawberry filling but being that it was March I knew fresh strawberries would not have a lot of flavor or sweetness so I used this strawberry frosting recipe – YUM!!
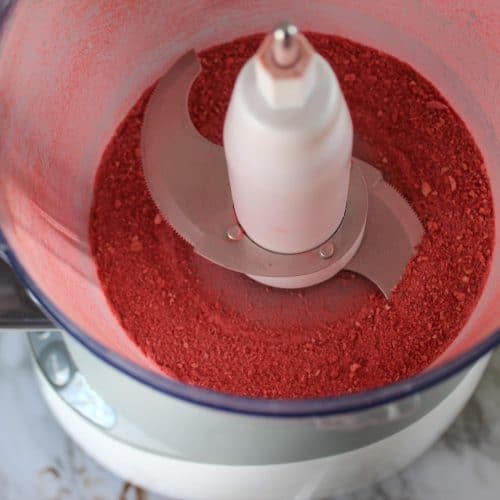
Frosting with a great strawberry flavor!
- 2 (.8 oz) packages freeze-dried strawberries
- 1 cup butter softened
- 3 cups powdered sugar
- 1/4 cup heavy whipping cream
- 1 teaspoon vanilla
-
Pulse the freeze-dried strawberries in a food processor until a powder is formed.
-
Beat the butter with a mixer until creamy.
-
Add the powdered sugar.
-
Add the strawberry powder, heavy whipping cream, and vanilla extract.
-
Beat together until all ingredients are well combined.
You can use any filling you want but I would recommend it be of a thicker consistency because it will act as your “glue” for the pig snout and ears. Another option is that you can use the piping frosting for adhering the snout and
Step 5: Assemble
After taking the cooled cakes out of the pans peel off the parchment round. If necessary, use a serrated knife to level the cakes.
Tip: Before spreading on the filling put the cakes in the refrigerator. This will help keep the cake together and not become a crumbly mess.
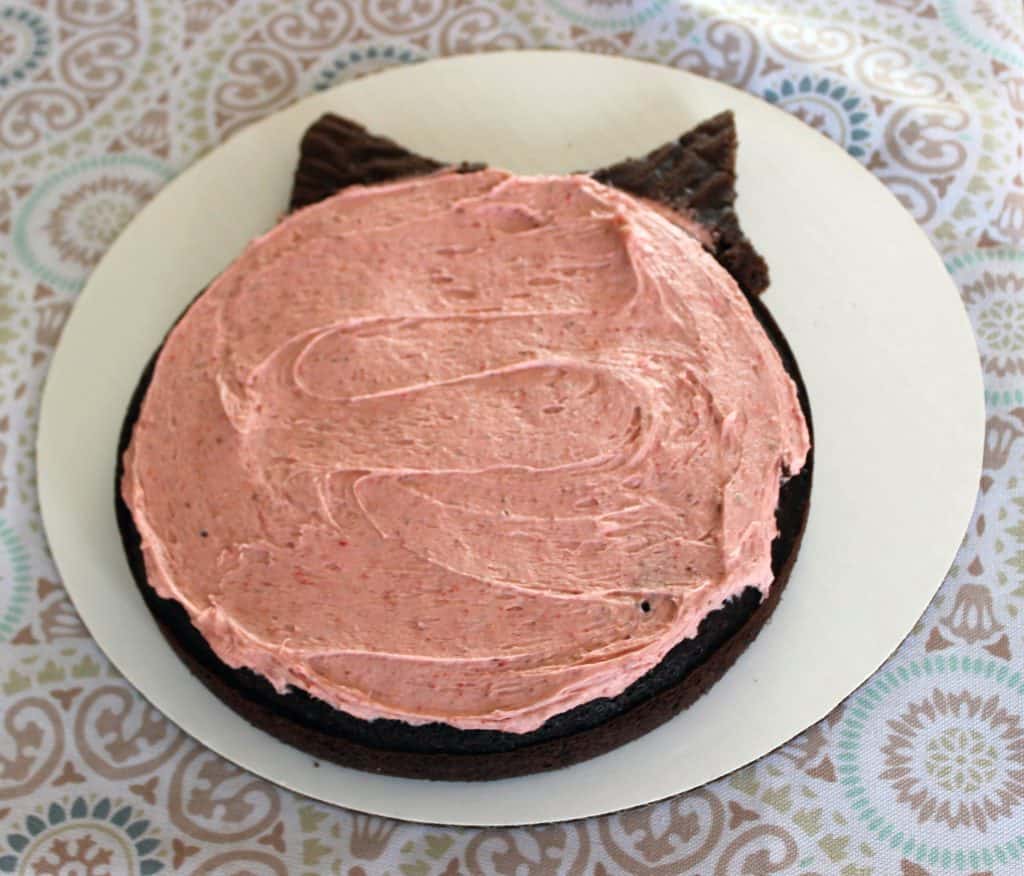
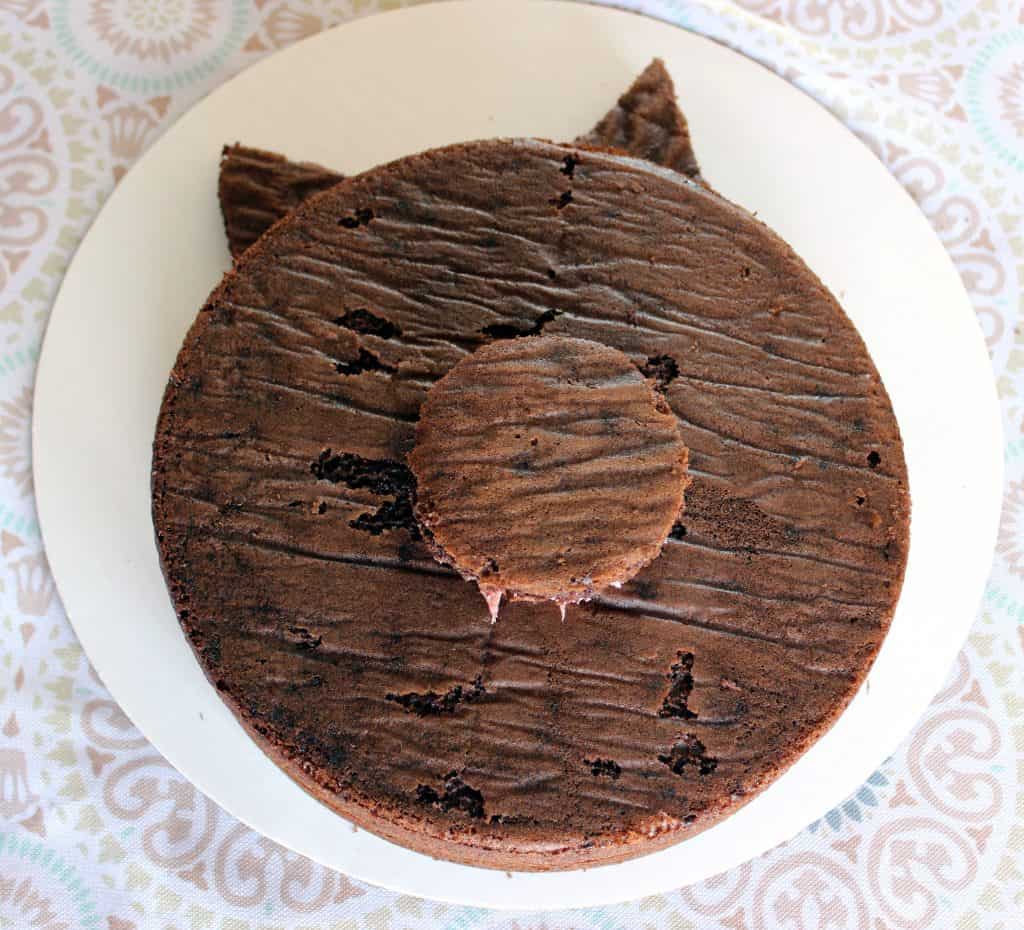
Place one large round cake on a cake board close to the bottom of the board – remember you need room for the pig ears!
Spread the filling onto the cake and put the second large round cake on top.
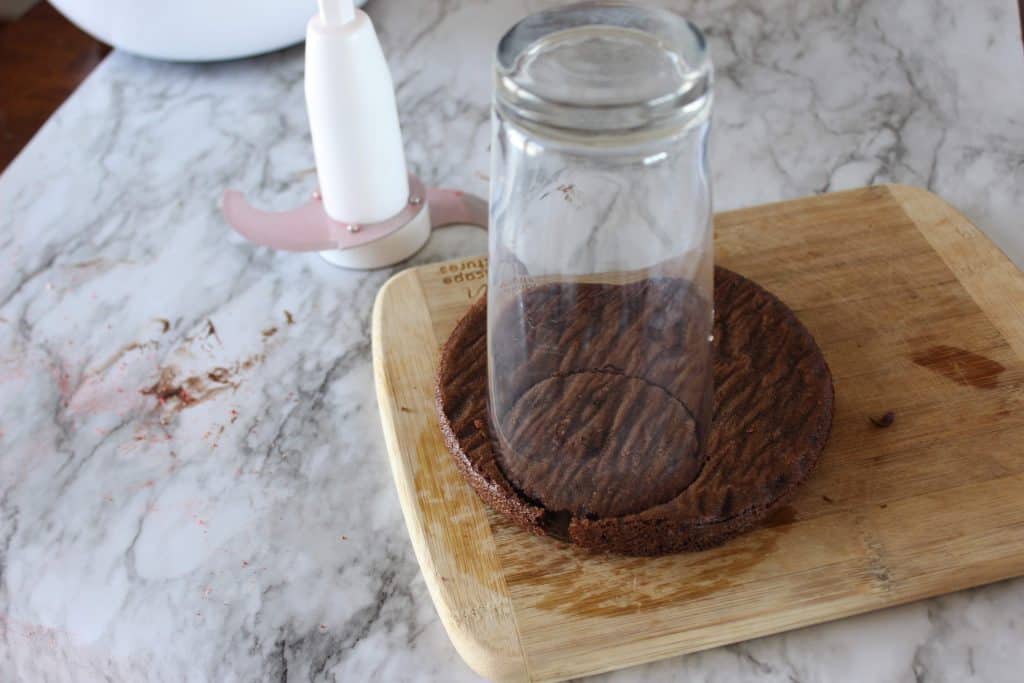
At the edge of the small round cake, cut the pig snout using the end of a round water glass. If you have a biscuit cutter or round cookie cutter either of those items would work too.
Then cut two pig ears out of the remaining cake using a paring knife. Use the round water glass again to create a semi-circle bottom.
Attach the ears and pig snout using your filling (or frosting) as “glue”.
Step 6: Make Frosting
Make a simple buttercream frosting;
- Beat 1 cup (two sticks) of softened butter until creamy.
- Add in 3 cups of powdered sugar.
- Pour in 2-3 tablespoons of heavy whipping cream and 1 teaspoon of vanilla. Mix until you get the optimal piping consistency.
- (Optional) Add food coloring.
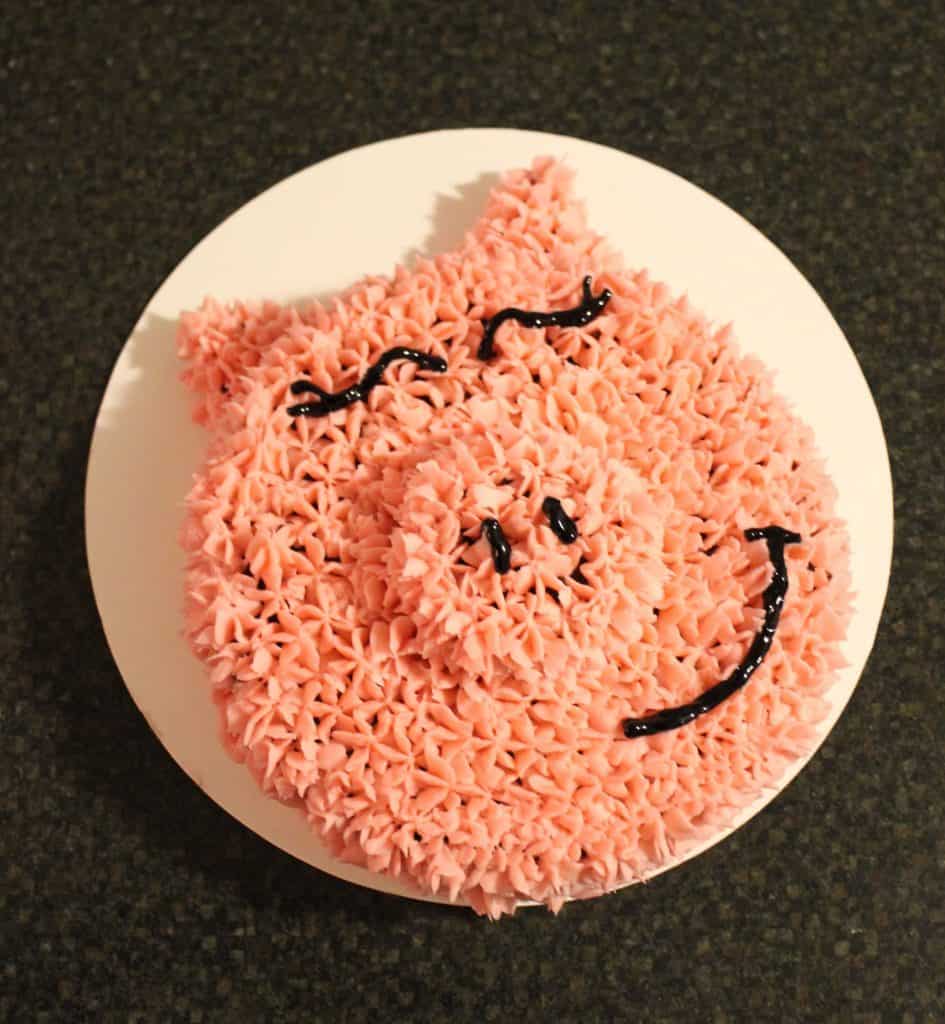
For the pig, I used this pink icing color. Please note – a tiny bit is all you need!! A toothpick dipped in the icing color and then dipped into the frosting is usually all I need but add slightly more for a brighter color.
Step 7: Frost!!
Now scoop the frosting into a piping bag or disposable piping bag after you put in place the tip you want to use. I used this piping tip. Pipe frosting onto the cake and cover everything!
Use black gel to draw on the mouth, eyes, and snout holes.
Voila – You have just made a pig cake!


Leave A Comment