
How to Paint Mason Jars
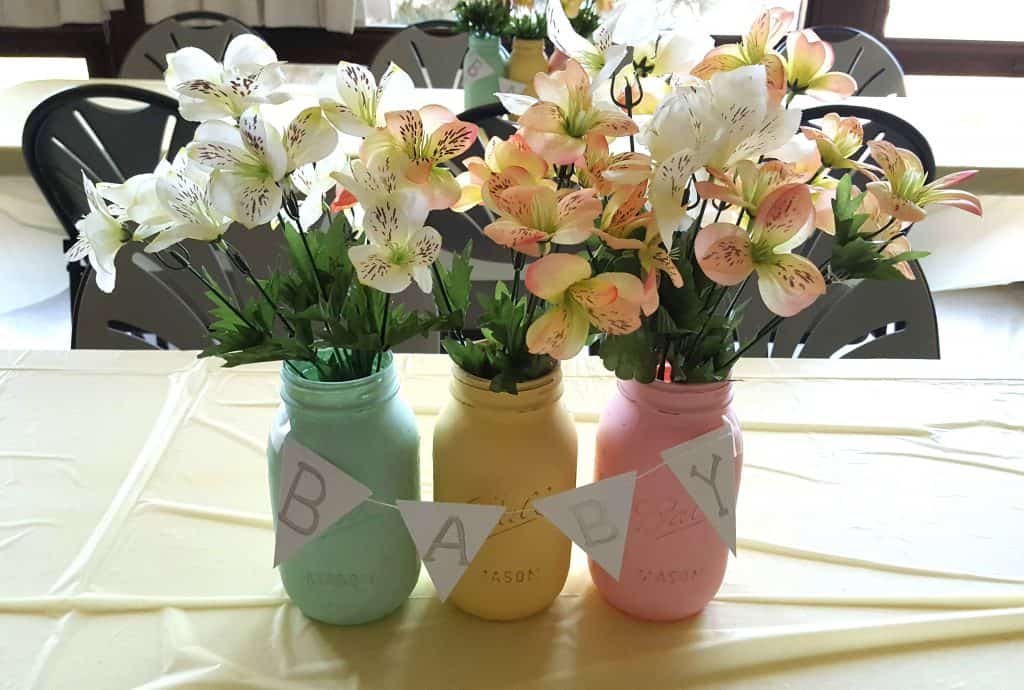
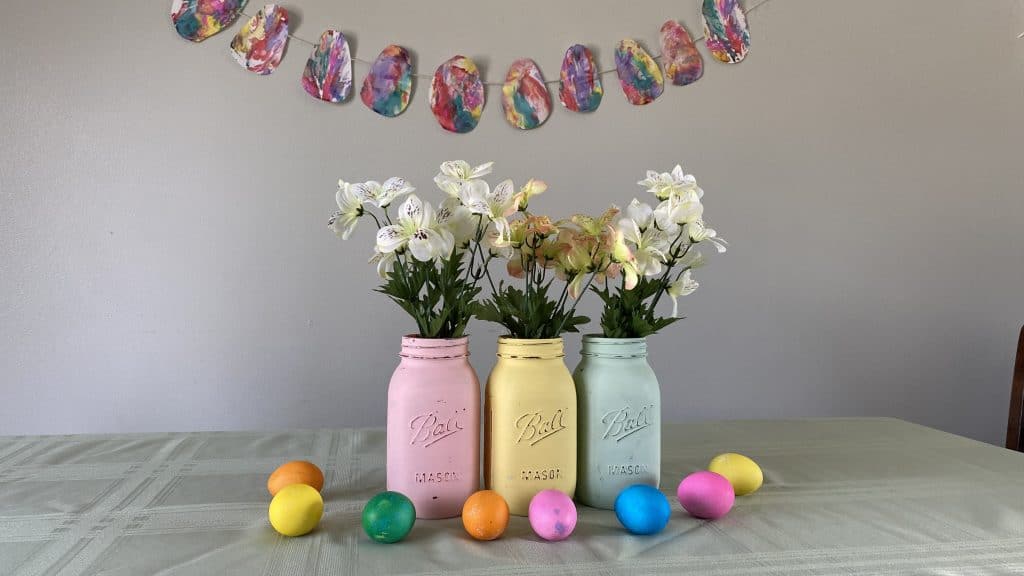
We just had my sister’s baby shower and I decided to use distressed mason jars as centerpieces. I knew it would be cheaper than purchasing a bunch of fresh bouquets and I liked that I could finish the centerpieces ahead of time.
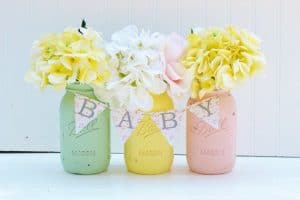
Painting and distressing mason jars turned out to be a lot easier than I thought it would be. With just a few simple steps these mason jars make the perfect home and seasonal decor – especially for spring!
This post contains affiliate links. Please see affiliate disclaimer here.
Inspiration
I am not a very creative person so
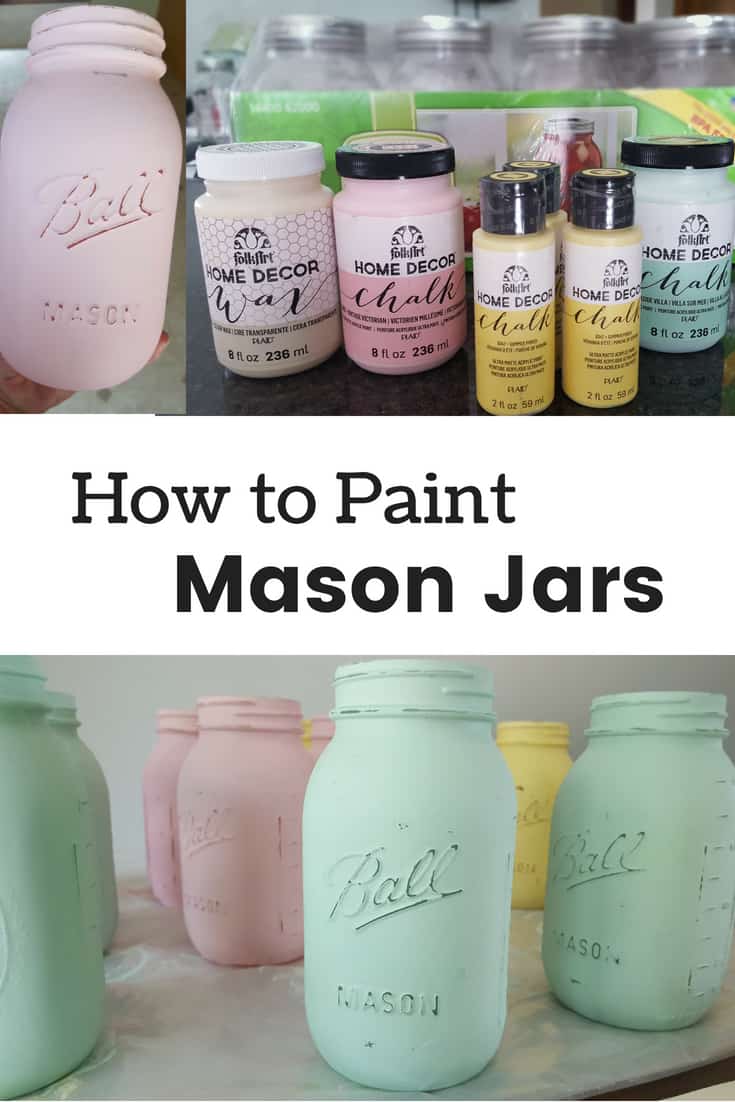
Supplies
12 Regular Mouth Quart Mason Jars
To be honest, I just used a makeup blush brush I had laying around. I tried using a paintbrush and I didn’t like it (too many streaks). The link goes to brushes that are recommended for the chalk paint and the wax but I personally haven’t tried them.
I found I only needed a single 2 oz bottle of each color and I still had paint leftover. I painted two coats on four mason jars for each color. The colors I used were Seaside Villa, Summer Porch, and Vintage Victorian.
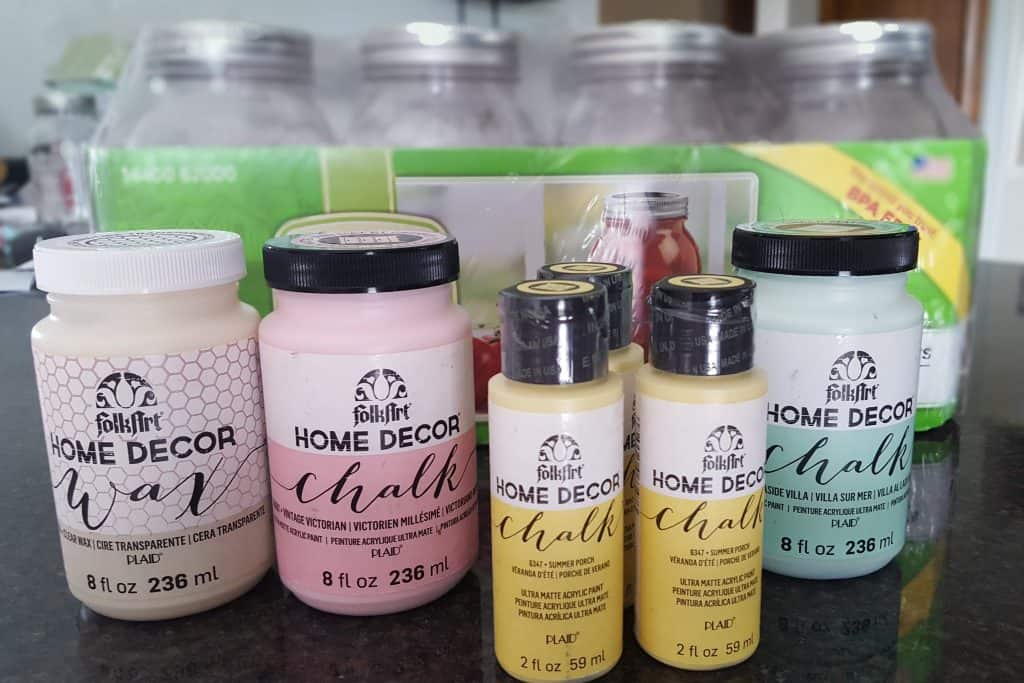
Again, I bought too much. I only did one coat of wax on each jar (12) and there was plenty of wax left over.
Doesn’t matter the size, any sandpaper will do.
I chose to use fake flowers because I was able to decorate the venue the day before and there was no air conditioning. Plus, with faux flowers, the entire set of centerpieces could be used again! I just bought mine at the Dollar Tree and I purchased about 16 bunches.
Instructions;
Step 1: Clean and dry the jars if they have been previously used.
Step 2: Start by painting the rim of a jar and then flip it upside down as you paint the remainder of the jar. Leave it upside down to dry on the plastic drop cloth.
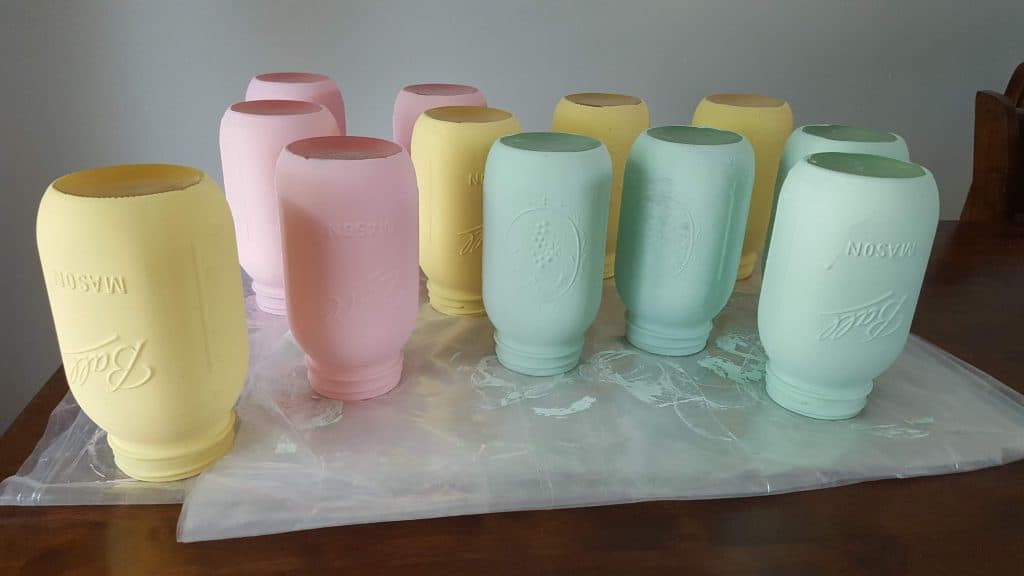
Step 3: Add at least one more coat of chalk paint once the first coat has completely dried.
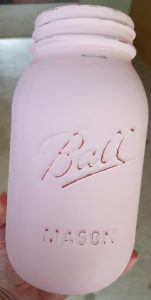
Step 4: Use sandpaper over the raised letters and on the rim to give the jars a distressed look.
Step 5: Brush on one coat of wax to seal the chalk paint.
I hope you enjoy this easy DIY craft that can be used as seasonal decor or centerpieces.
")


17 COMMENTS
Leave A Comment

Priscilla | 28th Jun 19
I’ve had issues with this particular brand of chalk paint. Even after cleaning the jars with alcohol – and letting the paint sit for 24 hours to dry, when I go in with the second coat it takes off the first coat. Any advice?
Mehgan | 28th Jun 19
Interesting, I’ve never had that issue. Also, I’m a much more impatient person and paint the second coat on the mason jars as soon as the paint dries which usually doesn’t take long at all. Good for you for being so patient! My only suggestions would be to paint very thin layers, using too much paint with the first layer could be leading to this problem. I’ve never needed to use a primer but painting on a coat of primer first might help too.
Lauren | 15th Jul 19
Thank you for the DIY and I can’t wait to make these for my shower. I just want to clarify, could I paint these the day before my shower? Or should it be a few days before?
Mehgan | 15th Jul 19
Congrats on your upcoming shower, I hope it’s amazing! I found that the mason jars dried very quickly so I would see no reason why you couldn’t paint them the day before. Just make sure the layers of paint are thin so the drying goes quickly. If you have the time and space to paint them beforehand it might be a good idea in terms of your stress level and how much you are doing yourself for the shower.
Wendy | 31st Jul 19
What type of wax do you use?
Mehgan | 31st Jul 19
I use clear wax from the brand FolkArt (number 34863). If you want, there is a link right to the product if you click on the blue-colored word “wax” under the heading “Supplies”.
Trista | 9th Aug 19
Instead of wax could I use mod podge?
Mehgan | 10th Aug 19
I have never used mod podge instead of wax but I think it would work. I see that you can buy an item called “Ultra Matte Chalk Mod Podge”. If you try it please let me know what you think.
Shelia duffey | 1st Oct 19
I had same problem w the second coat taking first off. Try using a lighter paint stroke w dipping brush often. This has helped me. I really don’t like chalk paint because of this. Wonder what would help paint stay on better??
Mehgan | 1st Oct 19
Maybe using the sandpaper a little all over the jar between coats would help? Or possibly try using a different brush. I didn’t have this issue with the chalk paint at all.
Susie | 13th Mar 20
What type of wax did you use and why?
Mehgan | 13th Mar 20
I used the FolkArt brand clear wax (if you click on the blue word “wax” under the “supplies” heading it will take you to the exact one I used). The wax seals the chalk paint so it doesn’t get chipped away and gives it a finished look.
10 Things To Do With Those Old Jars | 23rd Aug 20
[…] Distressed Mason Jar […]
Brittany | 5th Nov 20
What kind of paint brush did you use?
Mehgan | 6th Nov 20
I used an old makeup blush brush I had because I didn’t like the look a regular paintbrush was giving me. But under “Supplies” I have a link to brushes specifically designed for chalk paint that others have recommended.
Cindi miller | 10th Dec 20
I painted the mason jars with chalk paint using the foam brushes. I put on 2 coats and I can see the brush marks when I put my battery operated lights in the jars. I’m using them for my wedding center pieces. Can you tell me how to get rid of the stroke marks?
Mehgan | 11th Dec 20
My only suggestion would be to try different brushes. The first time I painted the mason jars I definitely could see the brush strokes but then when I used an old makeup blush brush it seemed to work a lot better. I’ve never tried the jars with lights inside them, the lights could be highlighting the brush strokes.