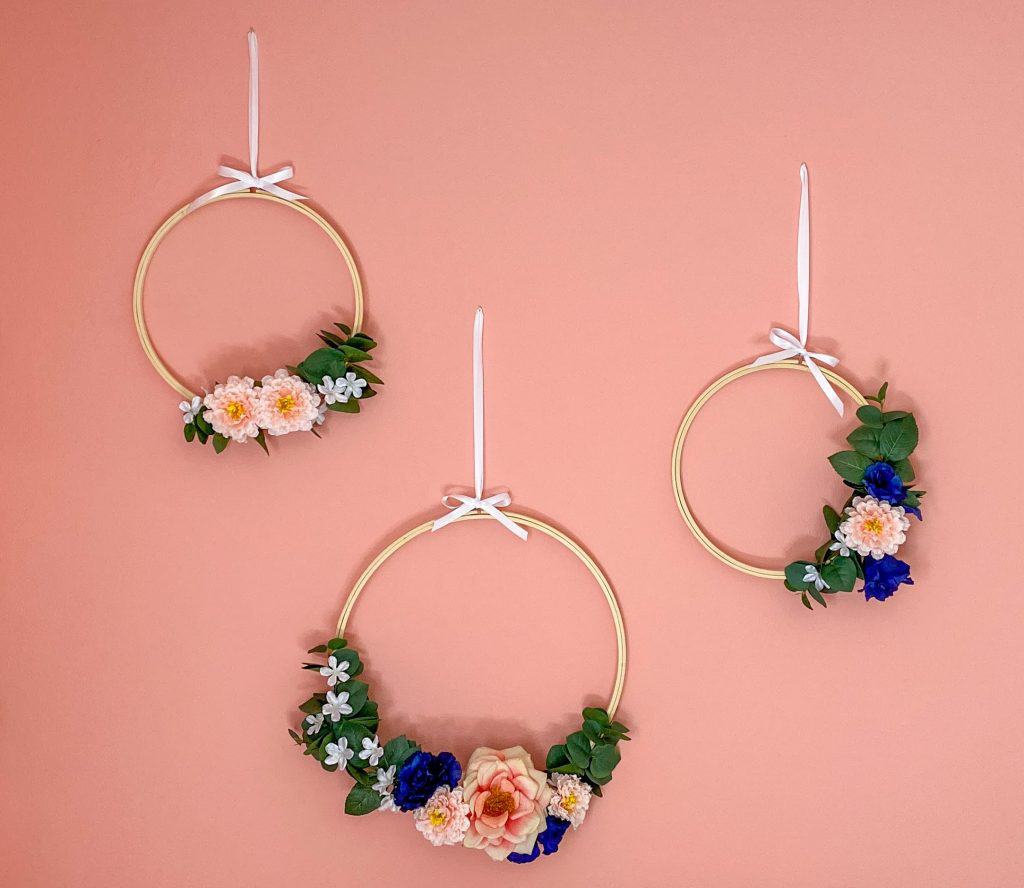
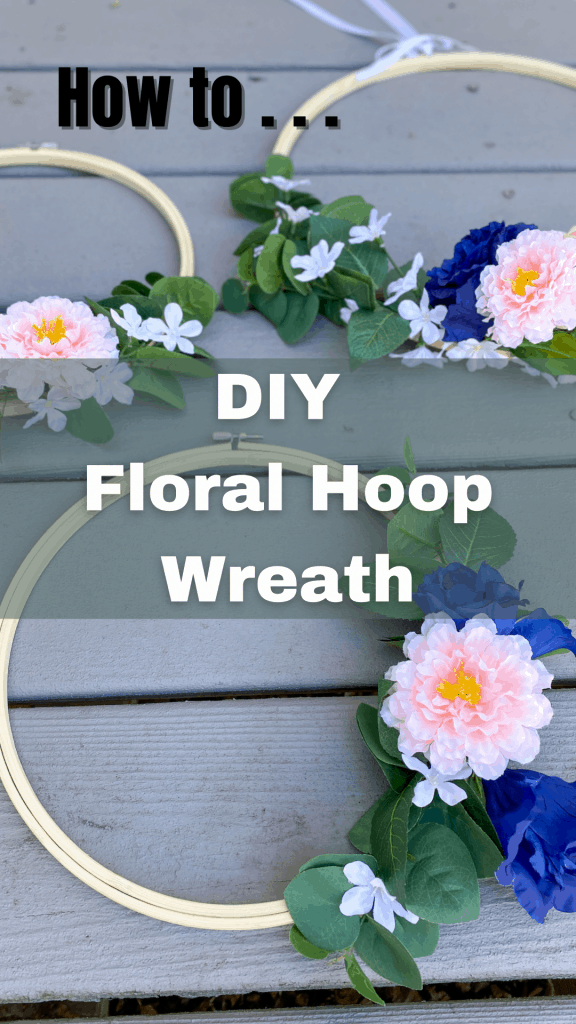
I typically don’t enjoy crafts or making any type of home decor but there are a few instances when I will make the attempt. First, when I can’t find exactly what I want. Secondly, when I can’t find what I want for the price I want (cheap!!). After ordering a number of floral hoop wreaths and being disappointed in the sizes and materials used I decided to try to make my own. I feel like they turned out pretty good! Here are instructions for how to make an easy floral hoop wreath.
This post contains affiliate links. Please see affiliate disclaimer here.
Supplies
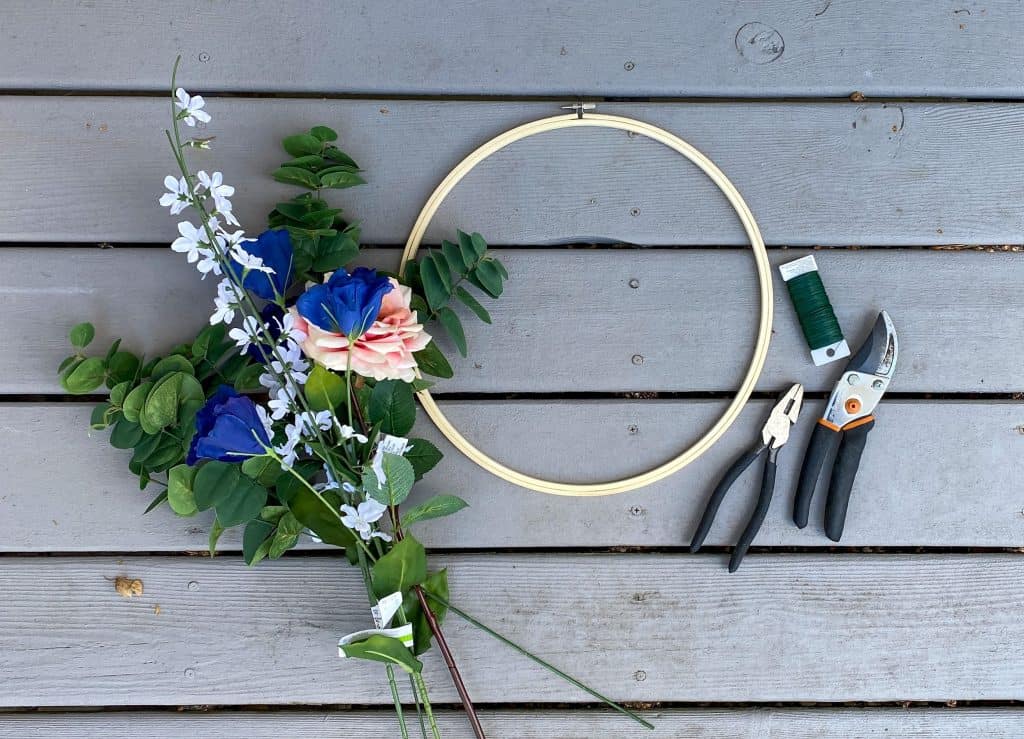
I purchased all of my supplies at Michael’s. One day I had a few short hours to run errands kid-free and needed to buy the supplies right away. I didn’t wait for sales of any kind. If you are really looking to save money wait for sales, use coupons, and shop at multiple stores to get the best prices.
Even without being price-conscious, I spent under $45 making three floral hoop wreaths for bedroom decor. I’m sure if I had put more planning into it and waited for sales I could have easily made the three hoops for under $25. Luckily, we already had a wire cutter so I didn’t need to purchase that.
Embroidery Hoops
I searched a long time for floral rings with a natural wood-looking hoop – very hard to find. Most hoops are silver or gold metal and can be found in the faux flower section of craft stores. Embroidery hoops provided the look I was going for plus the sizes I wanted!
Greenery & Flowers
(1) Blue Flowers (specific item no longer available)
(3) Greenery Stems (specific item no longer available)
My goal was to try to match the color scheme and overall look of my daughter’s quilt because these floral hoop wreaths are going above her bed. I liked the flowers I picked out but I wish I would have looked at more stores for greenery with more of a blue tint. The colors don’t match perfectly but for a super quick craft, I’m happy with the results.
Wire & Wire Cutter
(1) Roll Green Floral Wire, 24 Gauge
(1) Wire Cutter
The only thing I used to secure the greenery and flowers to the embroidery hoops was floral wire. You certainly could use zip ties or hot glue but this is what worked for me. It’s fast and you don’t have to wait for the glue to dry. I only used a tiny fraction of the wire I bought.
Ribbon & Nail
(1) Roll 3/8″ White Satin Double-Faced Ribbon
(3) Nails
I did purchase some new white ribbon to hang the floral hoops. You may want to check around your house first to see if you have ribbon or twine that will work for the look you are going for.
Also, you don’t need ribbon to hang the floral hoops. You could hang the embroidery hoop directly on a nail instead.
Directions
Step 1: Plan
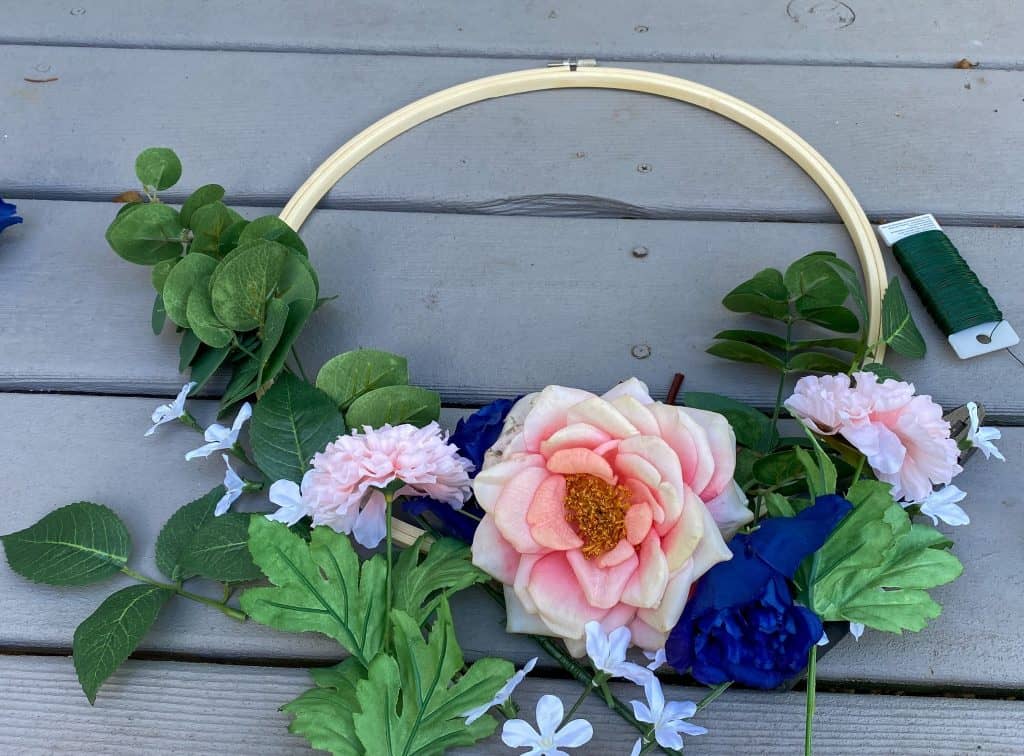
First, lay out your faux flowers and greenery. Plan how you want each hoop wreath to look. Do you want the hoop wreaths to all look the same or do you want a little variety? You can change the flowers you put on each hoop and/or how the flowers are positioned.
Step 2: Cut the Stems
Cut the faux flowers and greenery you want to use from the stems making sure you have enough stem to wrap to the embroidery hoop or metal ring.
I didn’t like the greenery that came with some of the flowers so I only cut the flowers and then added different greenery to match better.
Step 3: Wrap in Layers
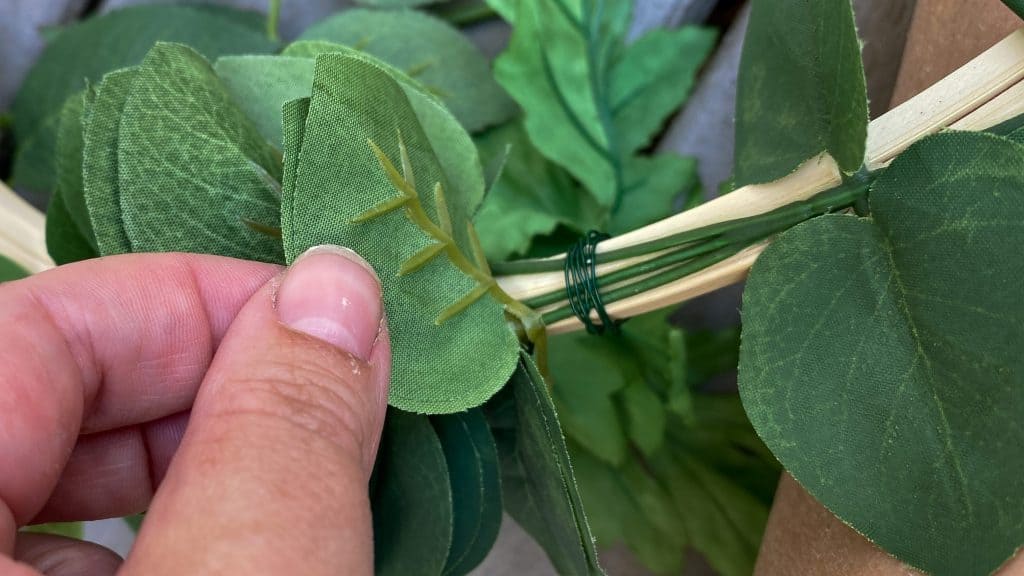
Use the floral wire to secure the greenery and faux flowers to the hoop. Wrap tightly and in layers to help cover up the wire.
Step 4: Cut and Tie Ribbon
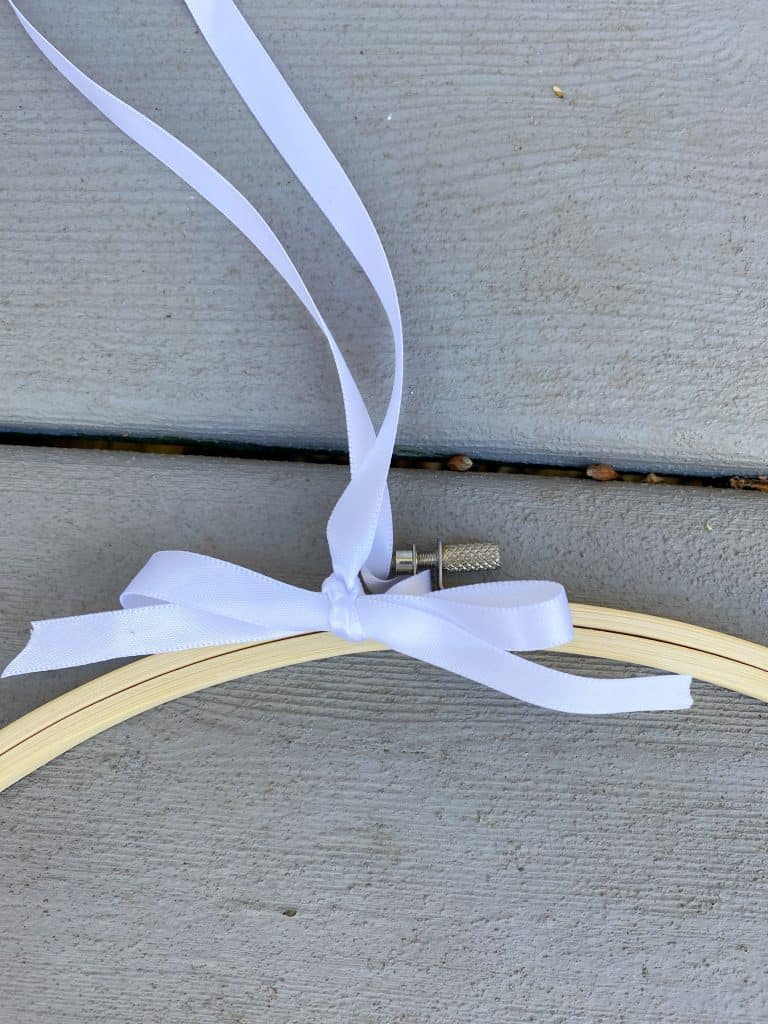
If using ribbon or twine to hang the hoops determine how long you will want the ribbon hanging on the wall. Then double that number and add more inches if you want to tie a bow.
I didn’t measure the ribbon at all and just eyeballed it. For each hoop, I cut approximately 34″ of white ribbon. I tied the bow through and over the metal piece on the embroidery hoop to help hide it.
Step 5: Hang
Determine the order in which to hang the floral hoops and the varying heights. Next, hammer in three nails and hang your hoops using the ribbon.
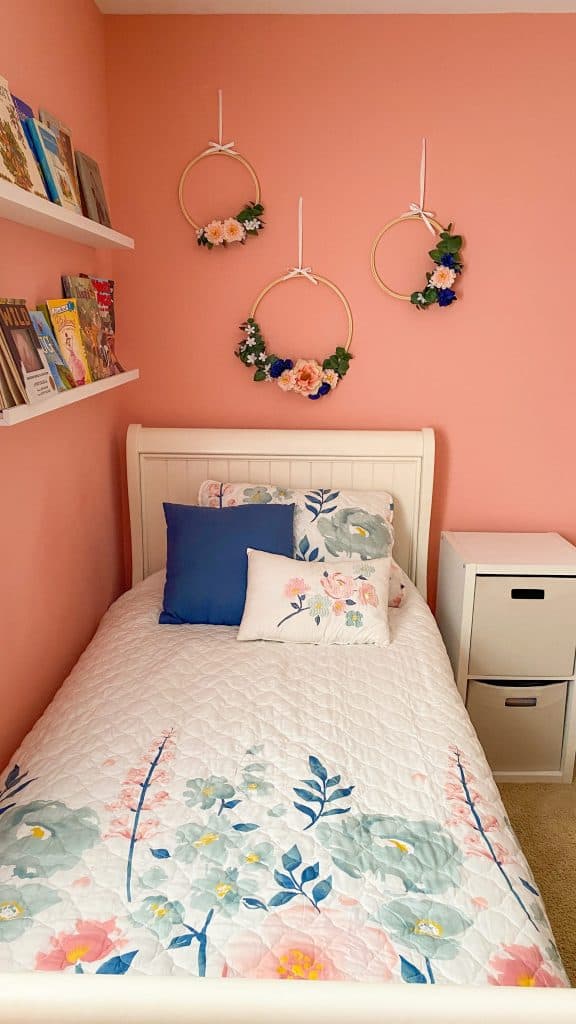
There you have it – quick, easy, and inexpensive DIY floral hoop wreaths for wall decor.
Looking for another easy DIY project? Check out my tutorial for how to chalk paint mason jars. These are great to use for spring table centerpieces or as decor for a baby shower.


Leave A Comment